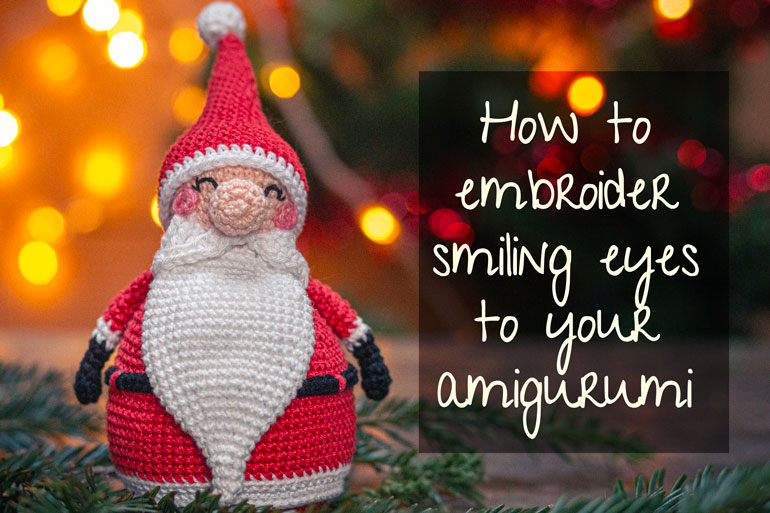
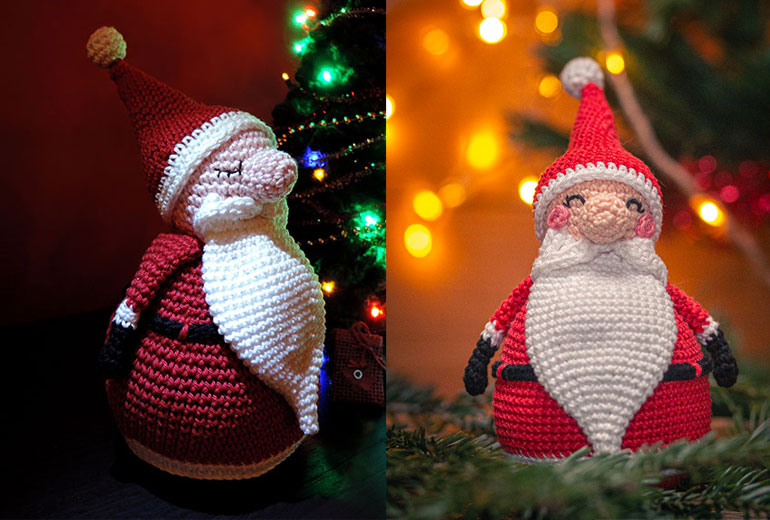
This year, I’ve decided to remake an old pattern that I really liked to bring him a bit more joy ! To do so, I mainly remade his eyes and added him some pink cheeks.
As tutorials to embroider eyes are not that easy to find, I thought I could share mine with you ! So, here is the step by step tutorial :
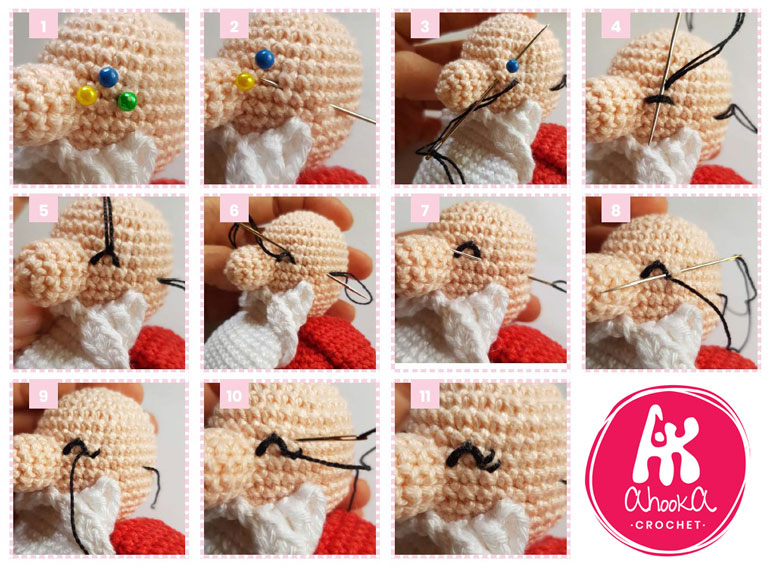
First, mark the placement of the eyes with pins (picture 1). Then, thread your needle with 2 strands of black embroidery floss and insert it from the back of your amigurumi to the end of the eye, here where the green pin was (picture 2). Insert your needle at the other end of the eye, here where the yellow pin was, and come out in the middle of both ends, one row higher, where the blue pin was (picture 3). Don’t pull too tight as we are now going to go under the line thus formed to bring it up and form a curve (pictures 4-5). Go back in at the same place but on the other side of the thread to secure it in place and go out with your thread and needle at the exact same point you first inserted your needle in order to tie both ends together and push the knot inside the head (picture 6).
To embroider the eyelashes, use only one strand of thread of floss as they should be thinner than the eye. Insert your needle from the back of your amigurumi to the end of the eye (picture 7), and embroider two very small lines, then go back out where you first inserted your needle in order to tie both ends together and push the knot inside the head of your amigurumi (pictures 8-11).
And voilà !
If you’d love to crochet the entire pattern, it’s available here : Chubby Santa’s pattern

See you soon,
Ophélie/*AhookA*
Very helpful! Thank you very much!!
My pleasure Ana !