Sometimes, when I roam around Ravelry, I’m surprised to see how different can two project of the same pattern be, depending on the person who made it. Or, to be precise, depending on the technique used by the person who made it.
Right side, wrong side, invisible decrease or sc2tog, shifted decrease,…Let’s see how those different techniques affect the visual aspect of a simple sphere.
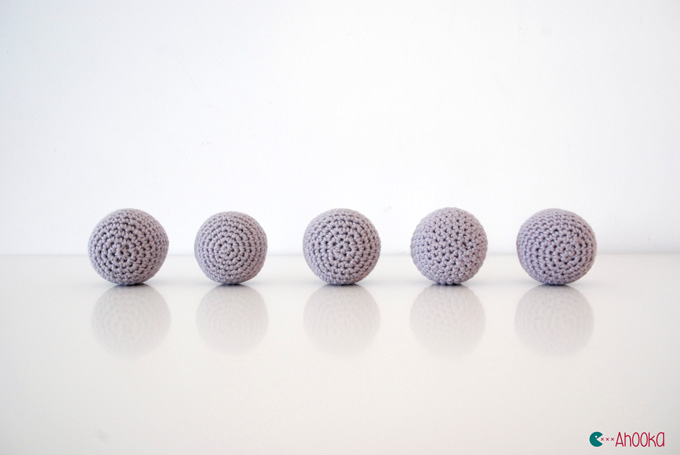
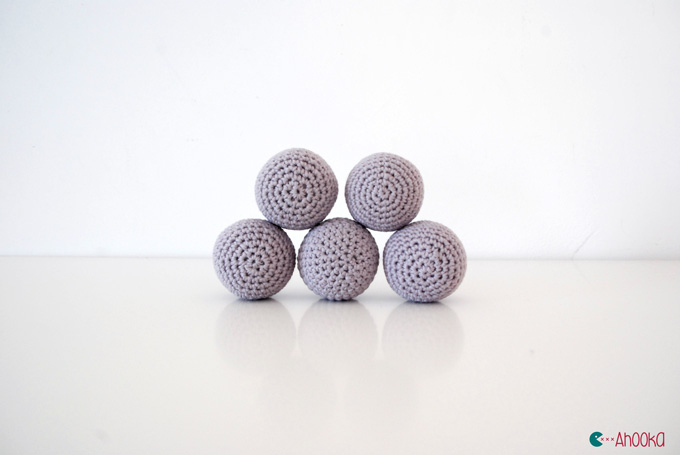
Those 5 spheres have the same size and have been made with the same yarn. Four out of them (the first, 3d, 4thand 5th) are made with the same pattern, and the same crochet hook :
R1 : sc 6 in a magic ring (6)
R2 : incx6 (12)
R3 : (sc, inc) x6 (18)
R4 : (sc2, inc) x6 (24)
R5 : (sc3, inc) x6 (30)
R6-12 : sc in each stitch around (30)
R13 : (sc3, dec) x6 (24)
R14 : (sc2, dec) x6 (18)
R15 : (sc, dec) x6 (12)
R16 : decx6 (6)
Fasten of.
(sc=single crochet, inc= increase, dec=decrease)
The second one is made with a smaller hook (but still the same yarn) and with another round of increases after the fifth one.
In each following examples, the left sphere is my reference model : made on the right side, with the invisible decrease technique and shifted increases. I don’t say it is THE best method. It’s just the one that I personally prefer. But they all have their pros and cons !
1. Crochet hook size
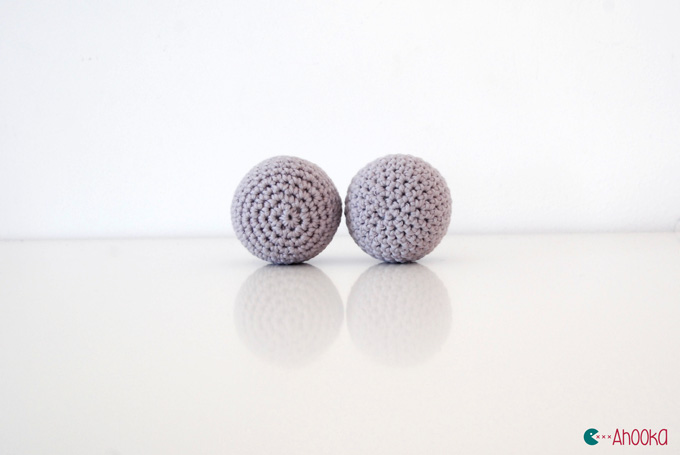
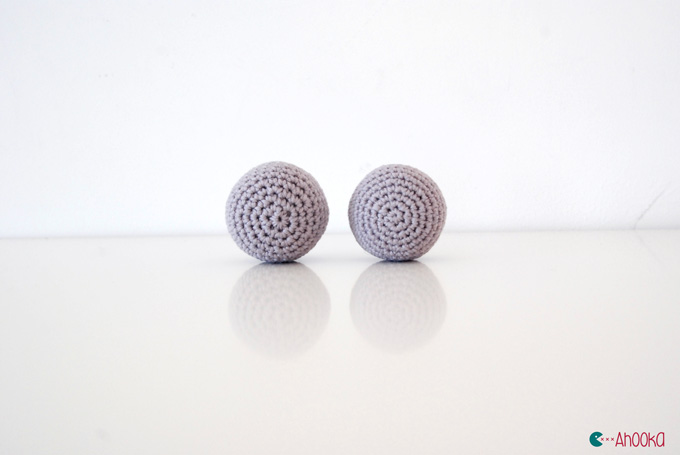 Here, there is no particular technique used. Just a change of hook (left : D, right : B) with the same yarn. Visually, the stitches are closer in the second sphere, but it also makes it more rigid and less soft (and thererefore, more difficult to work with !)
2. Shifted increases to make a perfect circle
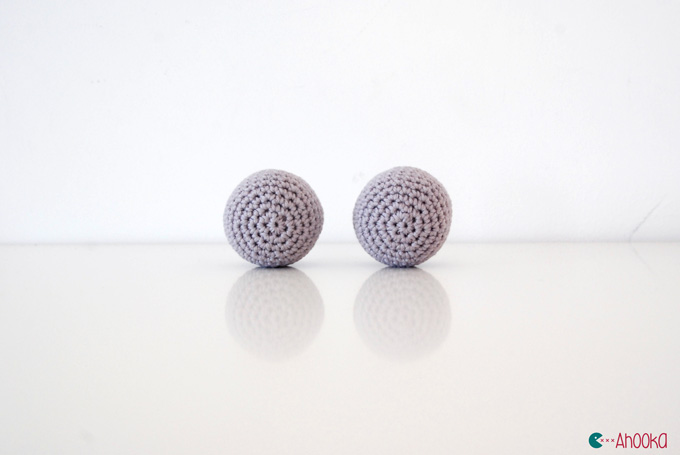 At first, the difference is not that easy to see. But when you look closer, you can see that in the second sphere, the increases show by forming an hexagonal shape :
 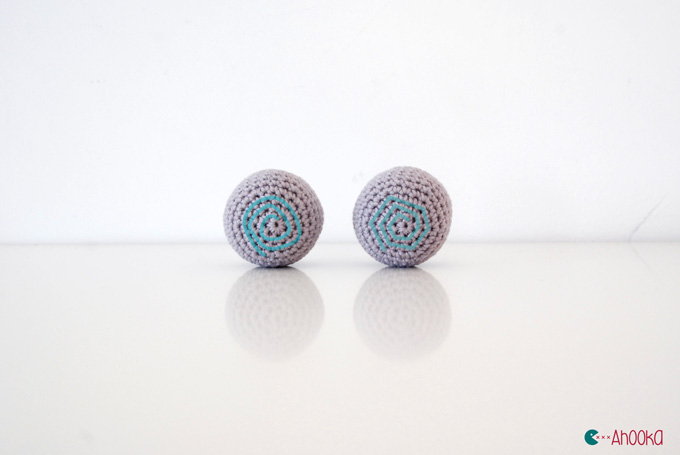 In order to avoid that, you have to shift the increases (and decreases) on each round. You can use my tutorial to make a perfect circle, you just have to adapt it to a sphere by shifting the decreases too.
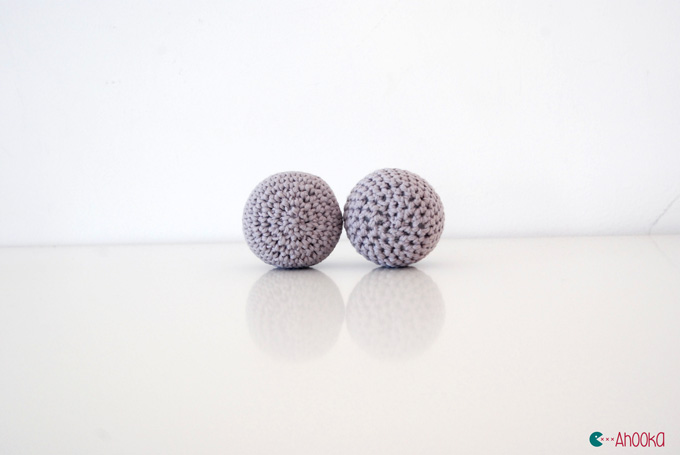
3. Right and wrong side
Actually, the “wrong” side is not “wrong” at all, it’s just different ! I’d rather crochet on the right side, but I think it’s just a matter of taste. The only important thing, is to know their difference, because it can drastically change the aspect of a pattern.
When looking at it on the increases side, you can see very distinct circles on the “right” sphere (which is on the left !); not on the wrong side :
The stitches on the wrong side are more rigid, therefore they don’t get to bend well. That’s why on the side view, the sphere is more cylindrical then the other one, rounder :
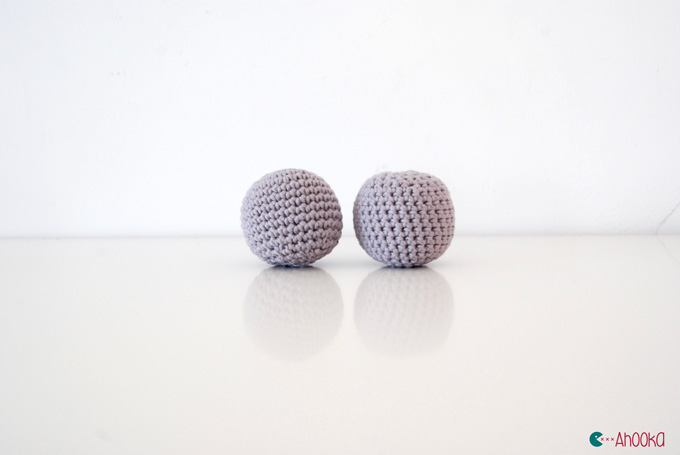
If you are unsure whether you are looking at the right side or the wrong one, here is the sure trick to distinguish them. On the wrong side, each stitch makes a little horizontal bar that is absolutely nonexistent on the right side, see? :
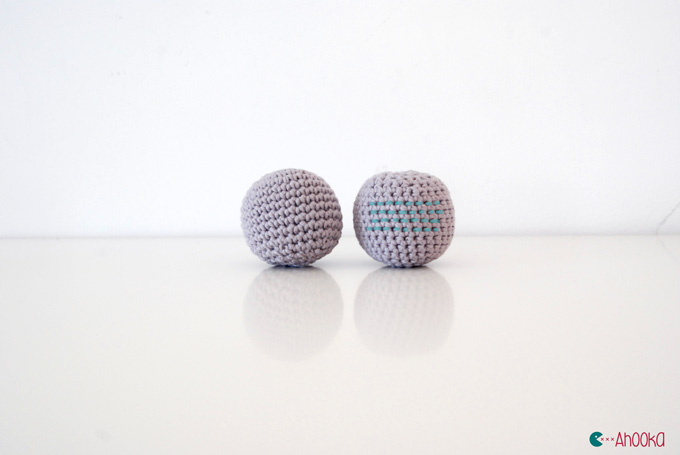
But my biggest issue with the wrong side are the decreases. I find them way more visible :
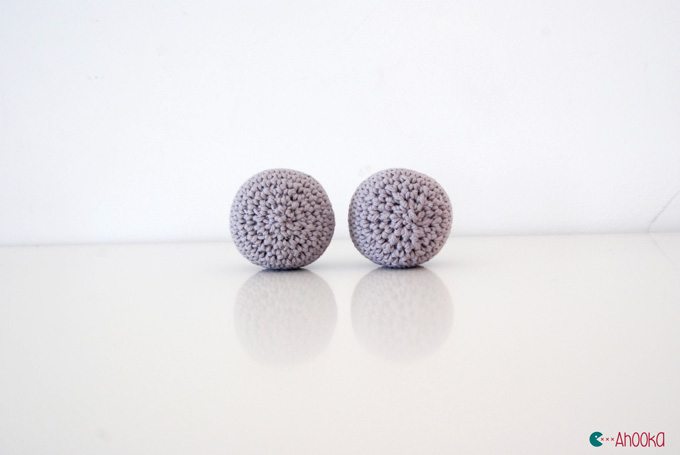
4. The invisible decrease technique
I must admit that since I’ve discovered the invisible decrease technique, that’sthe only one I use. But, the truth is that it’s more of an habit, because the visual difference is not that obvious. The invisible decrease is just a little bit more subtle !
I have looked on many tutorials on how to do a magis ring. I must be weird because I can’t make one and I desparately want to make hese adorable amigurumis. Can you tell me the best tutorial to use. Thank yo in advance.
Hi ! I know, magic ring are hard at first, I don’t think there really is a tutorial better than another, all it takes is practice. However, in the meantime, you can chain 2, and crochet in the 2nd chain from the hook (the first made)instead of crocheting in the magic ring. The final effect will be very similar and it’s way easier to do. I hope this will help !
Happy crocheting !
Awesome! I’d like learn more about the amigurumi technique, could you send us more information about it? Thank you for all content that help me a lot in my job!
My pleasure Junia, stay tuned on the blog, I’ll post some tips and tricks regularly :)
Thank you for making this! I learned invisible decreases pretty early on but haven’t used them much because I couldn’t tell the difference (I looked for comparisons but somehow didn’t find anything directly showing the effect of each side-by-side), so the extra effort didn’t seem worth it. Now that I can see them side-by-side I think I am going to switch, as the invisible decreases are definitely better looking in my opinion : )
My pleasure James ! Please tell me what you think about it in your new projects ! :)
Your starting magic circle is so neat! Do you have a step by step guide or video on this? I find starting especially fiddley pieces like skinny arms tricky – I would like to get neater but instead my tension tends to get tighter… When my first project is done I intend to try cotton to see if it helps but I already got half way with wool on this one.