I have to say, this amigurumi is a bit special to me.
Why?
Because it was one of the very first amigurumi I made all by myself, without a pattern or anything !
Of course, at that time I didn’t know that crochet would become my full-time job and writing pattern my every day life. I didn’t take any notes… Because why would I have had to?
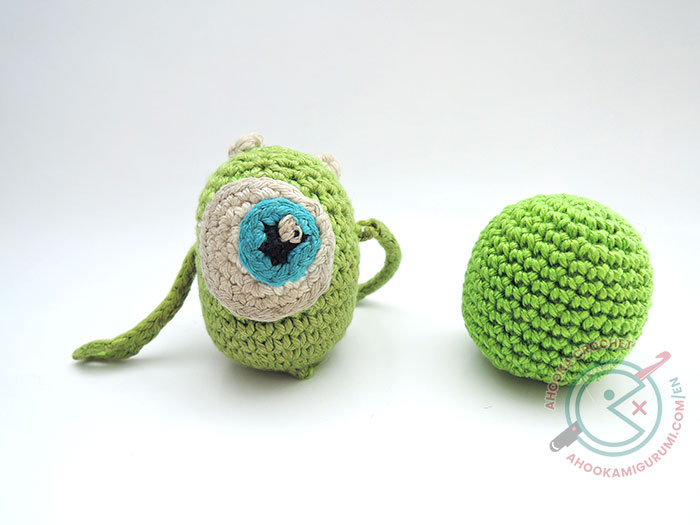
Mike was proudly sitting over my computer speaker, and I was proudly looking at him everyday thinking “I made it ALL BY MYSELF” !
But time went by and Mike joined dozens of other amigurumis in the giant box where all the amigurumis I don’t have enough place to display sadly end up. Life went on and I forgot about the one who once was such a pride.
Then Mister Ahooka’s goddaughter came to visit us with her parents for a few days. When I saw her gigantic blue eyes opening wide in front of all my amigurumis, I thought I would open the magic box to see if she’d like some of them. That moment was kind of enchanting, we almost could hear a Disney song tinkling and see Mike reaching out to her arms. She instantly adopted him !
And even after their stay, Mike stayed her adventure buddy !
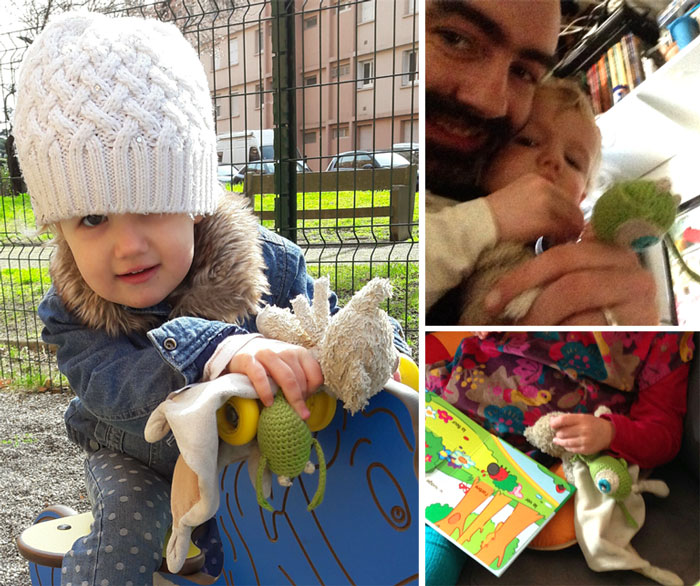
To the point where I received a kind letter asking me if I could fix her buddy because he was starting to get a bit old and even lost his legs during one of their trips.
Ah ah ! It was so much fun seeing Mike again, all worn out by a year of friendly adventures.
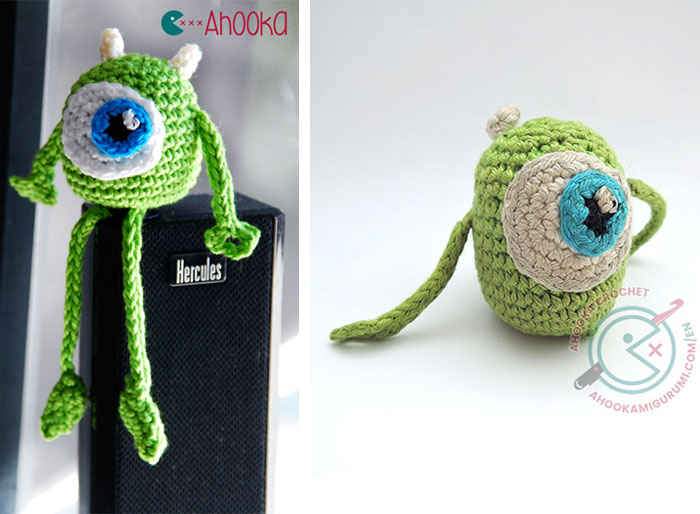
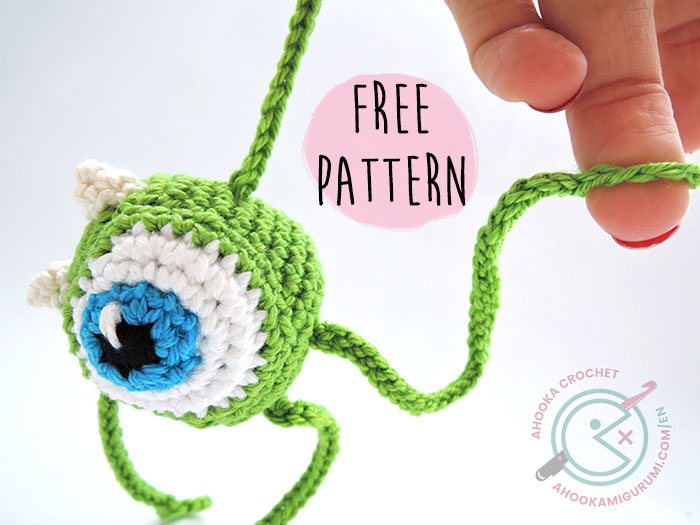
And that’s how I started to count the stitches to make a brand new Mike. This time of course, I took notes and pictures and everything needed to make a tutorial. And today, it’s a pleasure for me to offer it to you ! Happy crocheting ! :)
Material
• Yarn : I used cotton yarn (French brand Phil Coton 3) but any kind of yarn would do !
• a 2,5mm hook (or any other hook to match the yarn you chose)
• a bit of fiberfill
• a tapestry (or yarn) needle
Abbreviations
st : stitch
sc : single crochet
slst : slip stitch
ch : chain
inc : increase
dec : decrease
FO : Fasten of
(…,…)*x : repeat “x” times the instructions between brackets.
Pattern
Body
With green :
R1 : 6sc in a magic ring(6)
R2 : inc*6 (12)
R3 : (sc, inc)*6 (18)
R4 : sc, inc, (sc2, inc)*5, sc (24) – I shift the increases every other row so they won’t show that much – see article “how to make a perfect circle”
R5 : (sc3, inc)*6 (30)
R6-13 : sc in each st (30)
R14 : (sc3, dec)*6 (24)
Begin to stuff.
R15 : sc, dec, (sc2, dec)*5, sc(18)
R16 : (sc, dec)*6 (12)
R17 : dec*6 (6)
FO, weave the yarn tail through the front loop of each remaining stitches and pull tight in order to close the body. Then, weave in the end.
The eyes
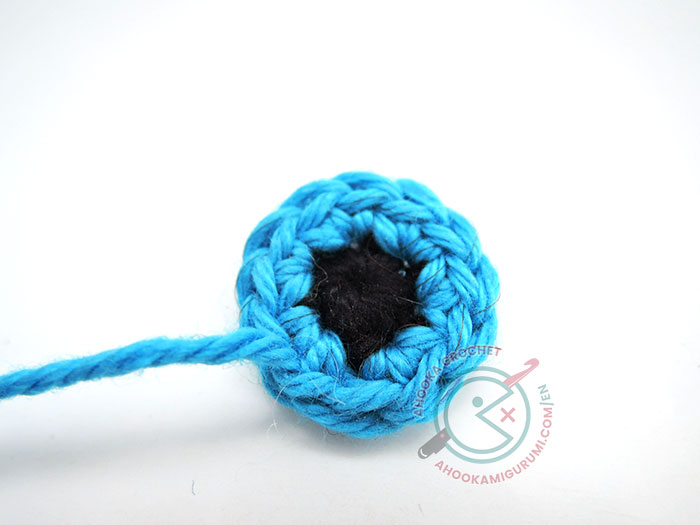
• The pupil
With black yarn :
R1 : sc6 in a magic ring, slst to close the round (6) – change to blue – ch1
R2 : inc*6 (12) – close with an invisible finish or a slst if you’d rather.
Leave a long tail for sewing.
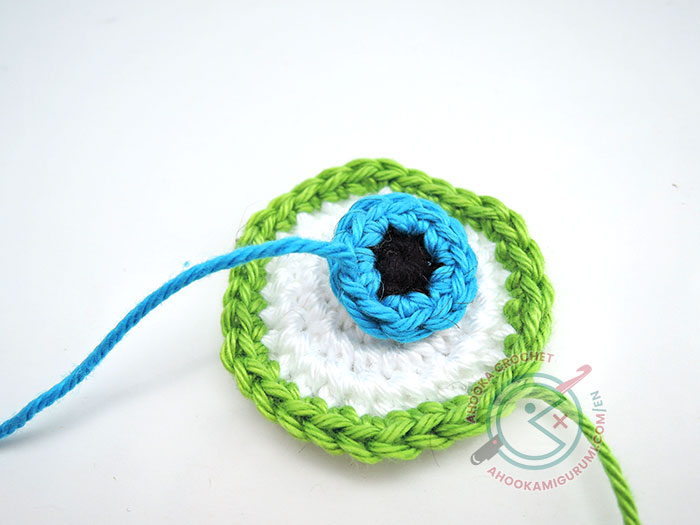
• White of the eye
With white :
R1 : sc6 in a magic ring (6)
R2 : inc*6 (12)
R3 : (sc, inc)*6 (18)
R4 : sc, inc, (sc2, inc)*5, sc(24) – Change for green with an invisible color change.
R5 : In the front loop only: (sc3, inc)*6 (30) – Close with an invisible finish or a slst if you’d rather.
Leave a long tail for sewing.
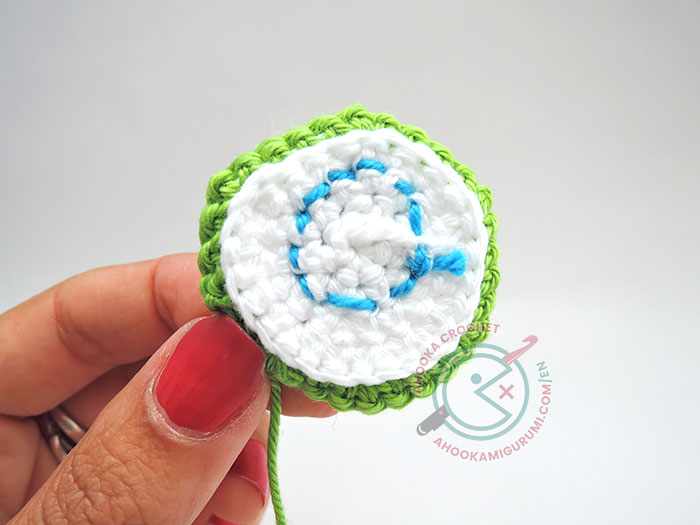
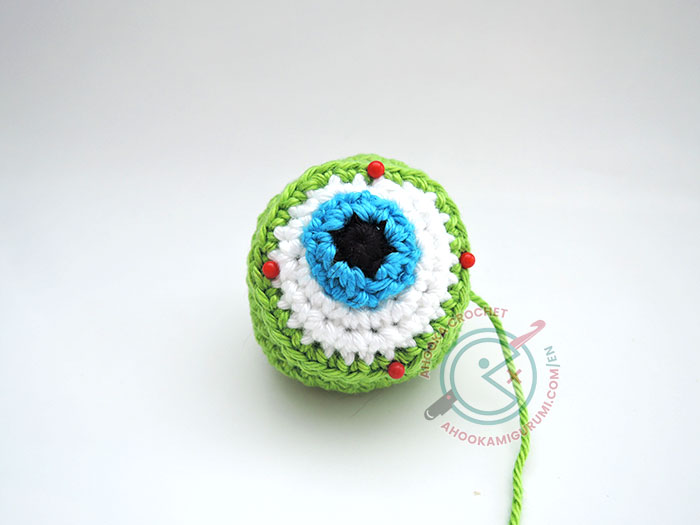
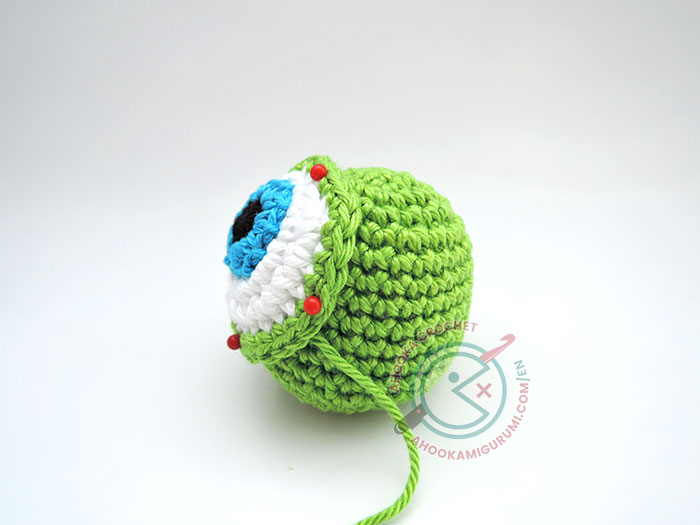
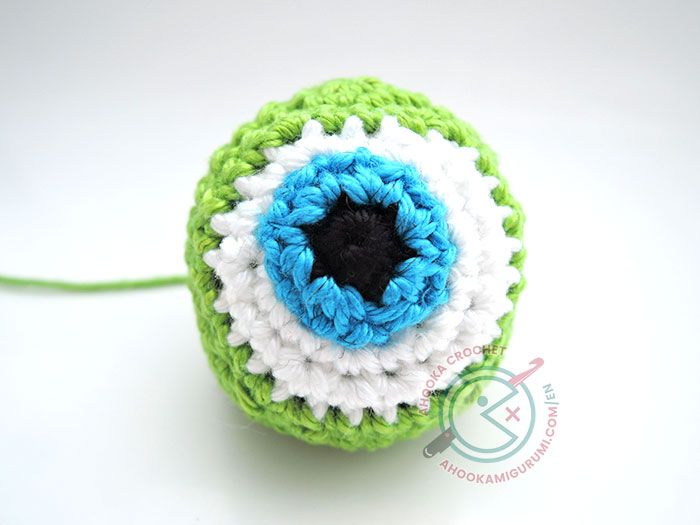
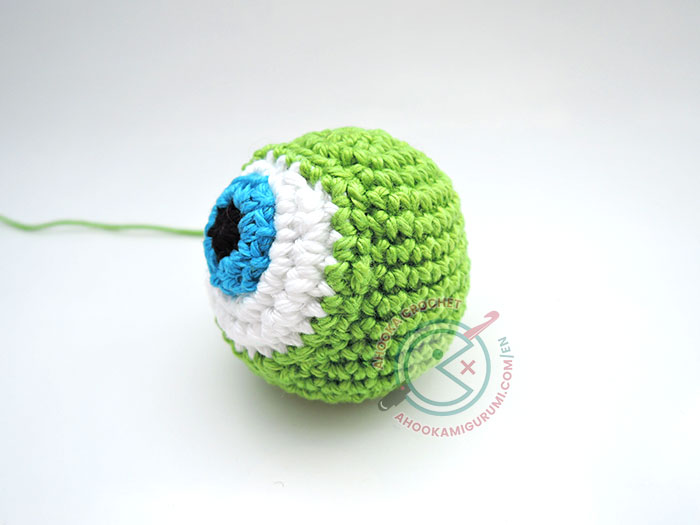
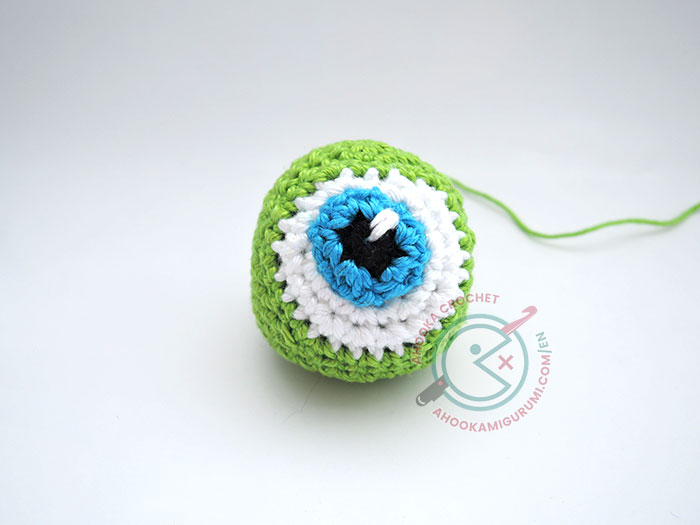
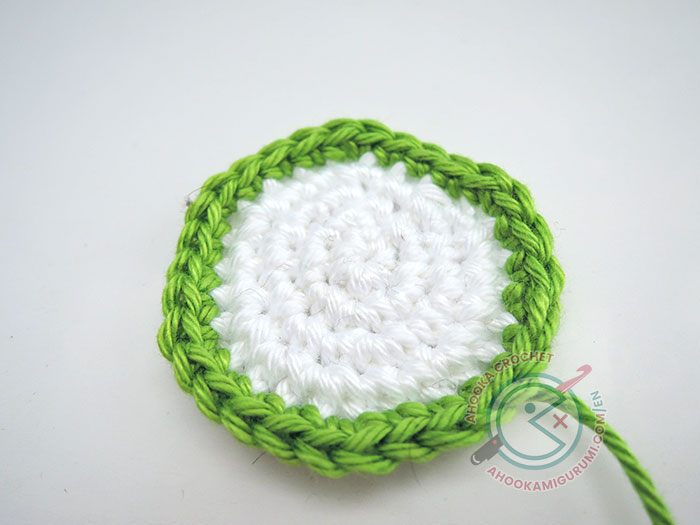 Place the pupil on the white of the eye, slightly off-centered and sew it in place.
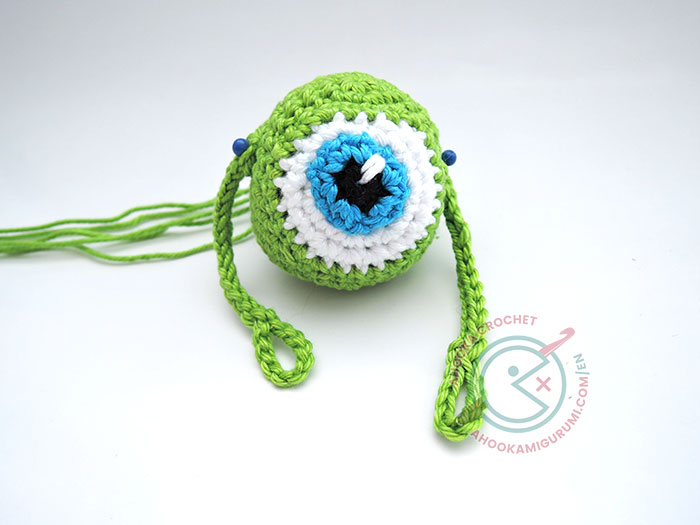
Pin it on the body as shown in the pictures and sew in place.
With a strand of white yarn, embroider a sparkle in the pupil. See article : How to embroider details on your amigurumis.
Arms and legs
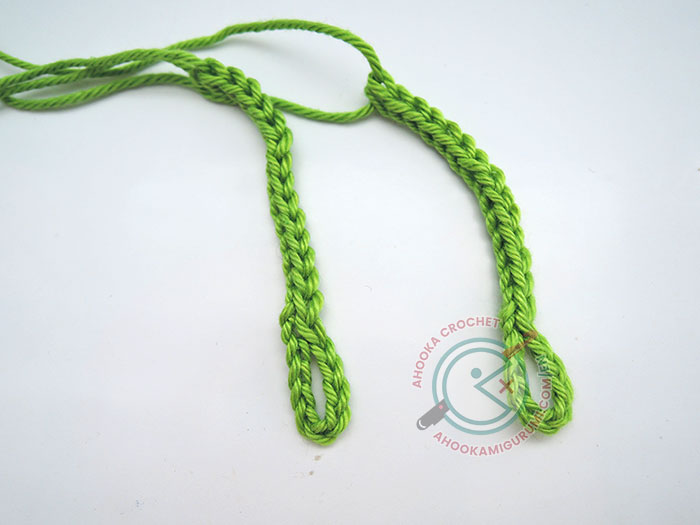
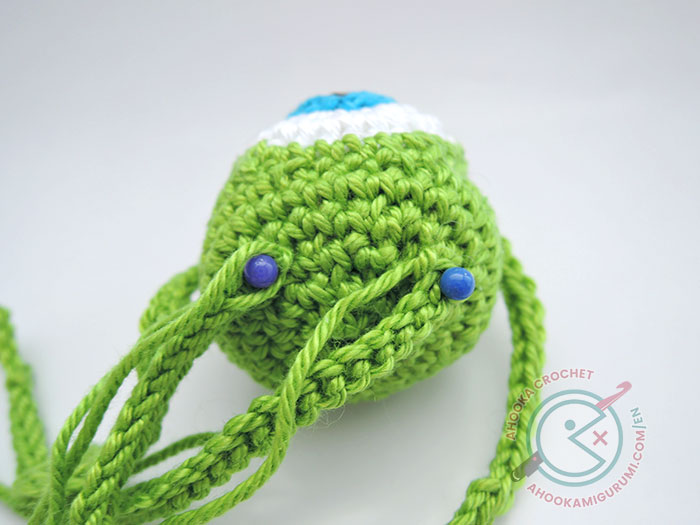
For the arms and the legs, I used crocheted i-cords. Here is a video by June Gilbank to show you how to do that. As this technique may take a bit of practice to be successful, I also wrote an alternative method you could use (see below).
• With i-cord
Chain 10, slst in the first ch to make a circle then start your icord (14stitches for the arms, 30 for the legs)
• Without i-cord
For the arms : ch 24, slst in the 10th chain from hook then slst in the 14 remaining stitches.
For the legs : ch 40, slst in the 10th chain from hook then slst in the 30 remaining stitches. a
Leave a long tail for sewing.
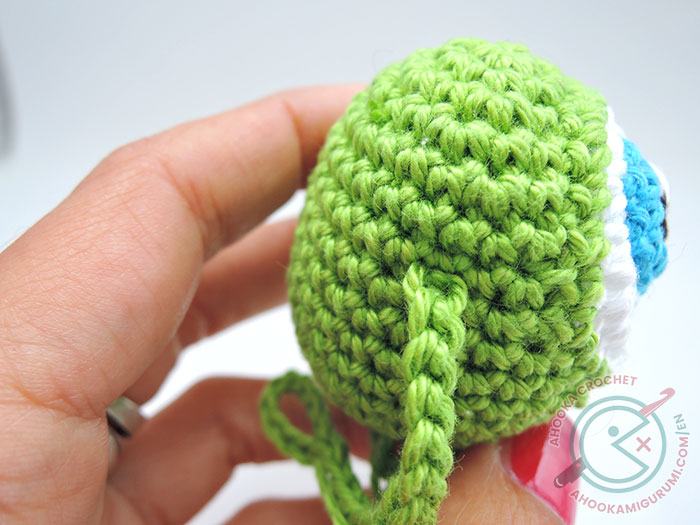
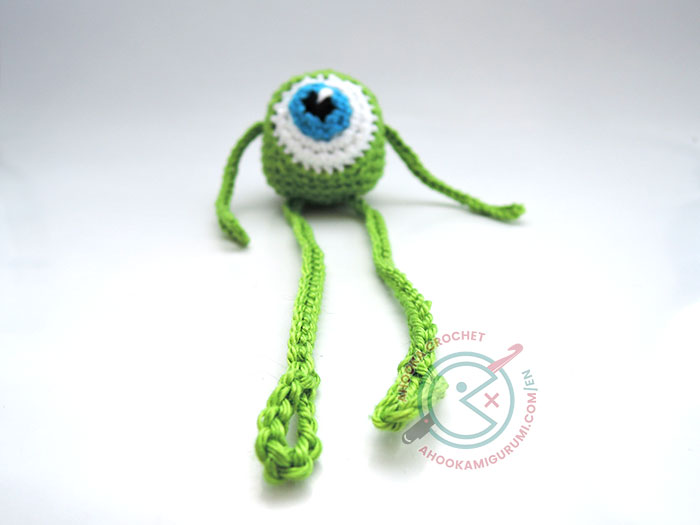
Sew arms and legs to the body.
Horns (*2)
R1 : sc4 in a magic ring (4)
R2 : (sc, inc)*2 (6) – aPlease note your horns will tend to curl up on the wrong side. Turn them right side out in order to get them nice and pointy. t
FO leaving a long tail for sewing.
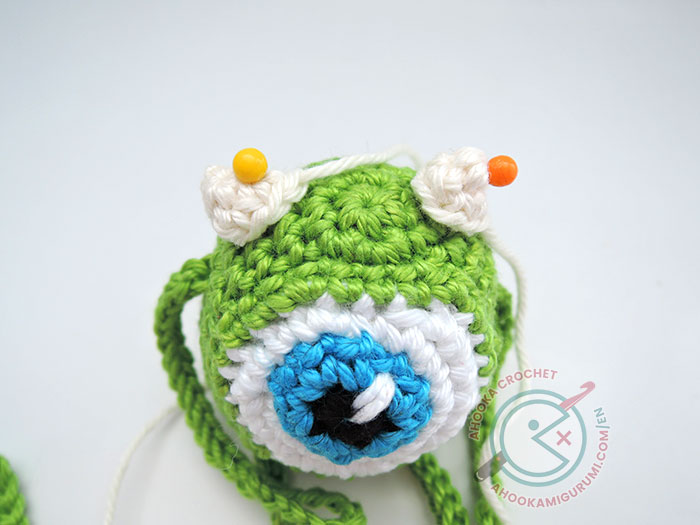
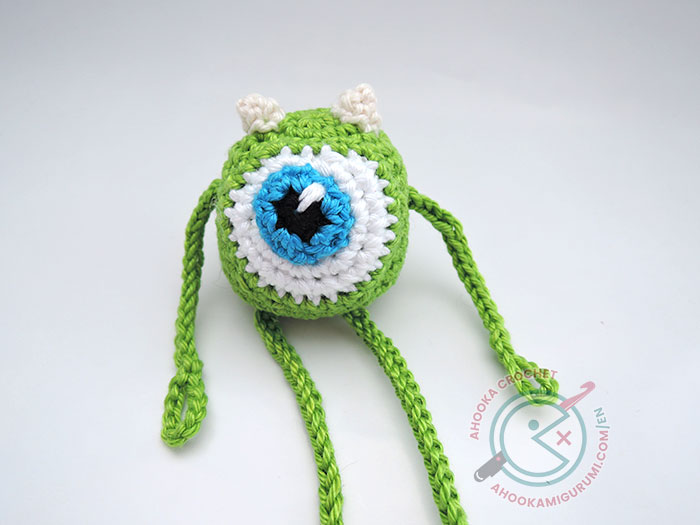
Pin at the top of the head and sew in place.
And that’s it !
I also made a brand new pair of legs to the first Mike ! So now she can have two of them ^^
See you soon !
PS : if you didn’t subscribe to my newsletter yet, now would be the time : it’s a special day for me in 3 days, and I have a surprise in store for all the subscribers ;)

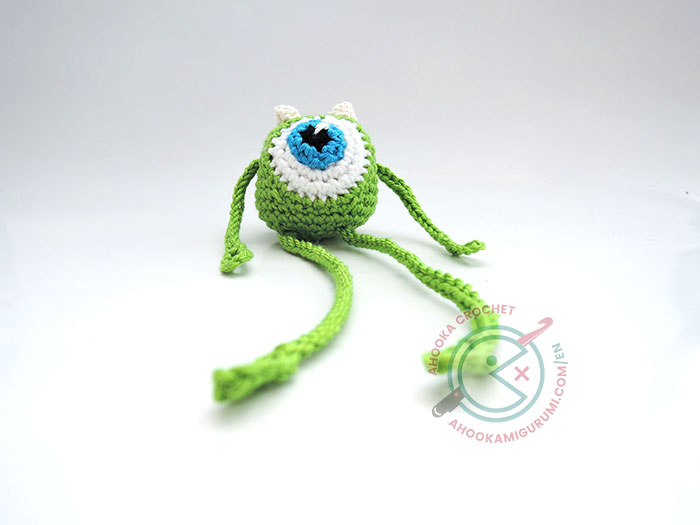
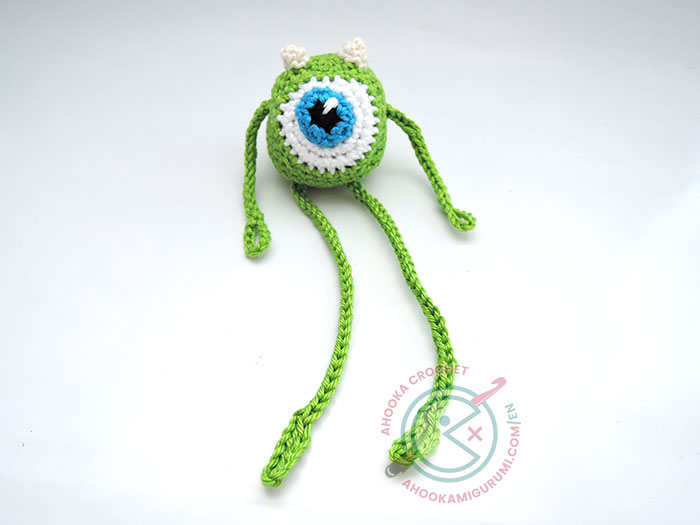
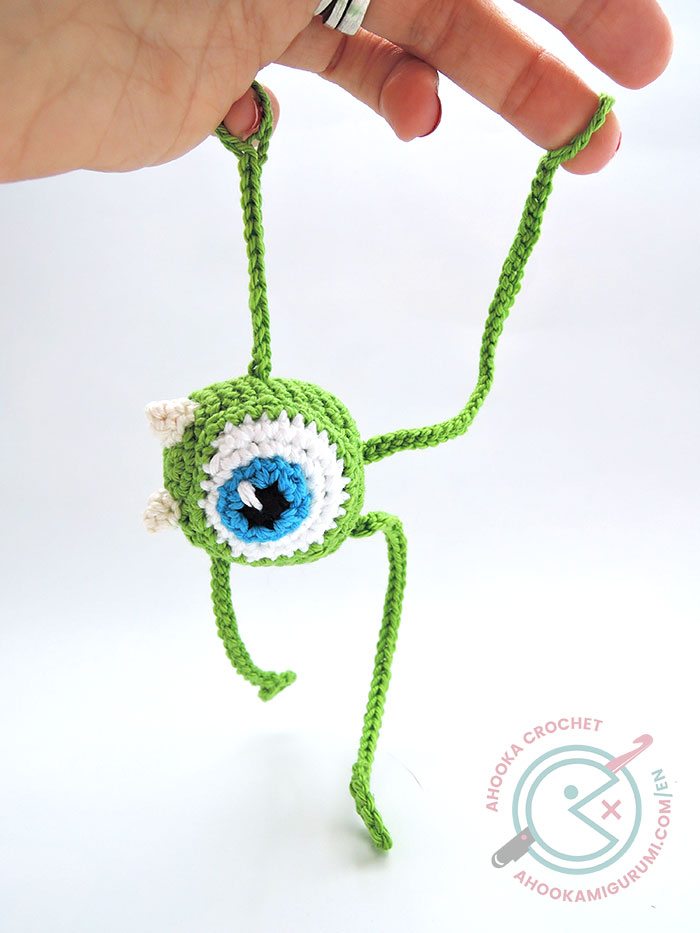
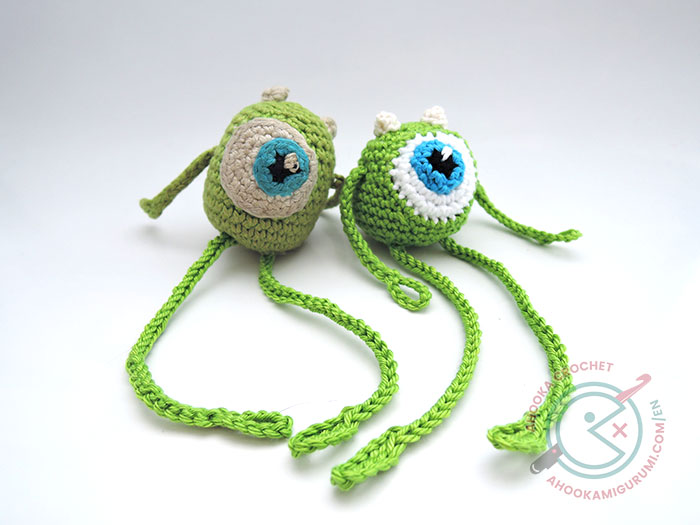

What a lovely story, it’s so special when someone else loves your creations as much as you do.,
Right ! Seeing Bob coming back at me all used up was sooo coool ^^
Such a cute little Mike!! I’ve decided to make one to put on a “Twiddle Muff” that I’m making for a friend’s wife, who has Alzheimers, and can’t keep her hands still… I think she’ll love to “twiddle” with Mike when she’s feeling anxious or nervous.
Ow that’s great, I love that idea !
He is really cute. I will definitely make one for my daughter. Thank you for the pattern.
My pleasure :)
I made your Don’t Care Bear for my son,he loves it! He has a store where he sells vapes and he has it behind the register, a lot of his customers comment about it and have tried to get him to sell it- he won’t, but he will give out your online store info so they can get the pattern
Ahah great story ! Thank you very much for talking about my shop :)
Thank you for the great pattern of Mike. I have just completed him for a xmas present