When I first started making amigurumis, my biggest problem was to deal with embroidered details.
Generally, when you follow a pattern, you are told to “embroider the mouth and nose” (“and sort it out for yourself”). But when you don’t have a clue how to do it, it’s not that simple ! You don’t know how to attach your yarn and you can ruin hours of work by embroidering rough details.
Here is what I learned since then.
Key to the success : proper material
I had a quick word about it when I told you about my experience with Totoro : DON’T try and embroider with a tapestry needle and bulky yarn. Unless you want to embroider details on a 6ft tall amigurumi, that’s NOT a good idea.
The tapestry needle is doing the job when you need to join 2 parts of your amigurumi and that’s because you insert it BETWEEN stitches.
But when you want a detailed embroidery, you want to insert your needle INSIDE a stitch. That’s when your tapestry needle will ruin everything, making big holes where you certainly don’t want them. It’s cruelly lacking precision.
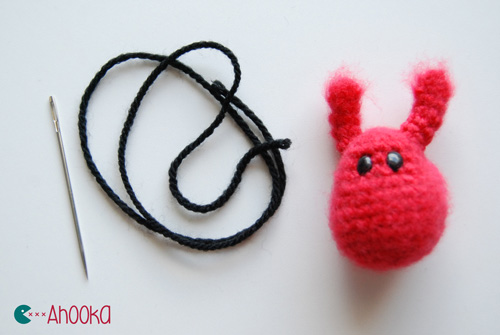
Now that I have told you what you don’t need, here is what you do need :
– Embroidery floss
– Embroidery needle – because they have a bigger eye
– A pair of scissors
And that’s it.
Let’s do it then !
Step by step instructions : a bunny surgery
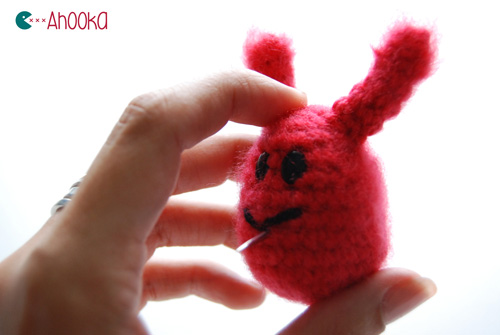
In order to illustrate this tutorial, let’s get a bunny guinea-pig.
(you can find the pattern here if you d’like to use the same base as mine)
Note : No, I’m not a schizophrenic. Yes, this tutorial is made with everything I told you not to use : a tapestry needle and bulky yarn :D
That’s only because it shows much better in pictures and also because my bunnies don’t need that much details. Just remember that you need to adapt your needle and thread to the level of detail you need.
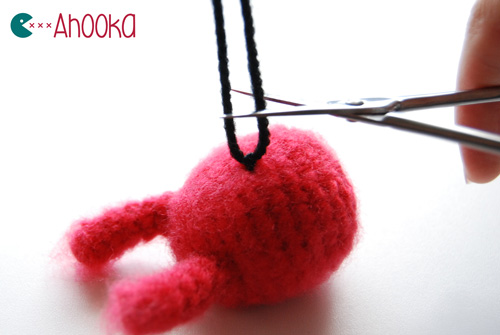
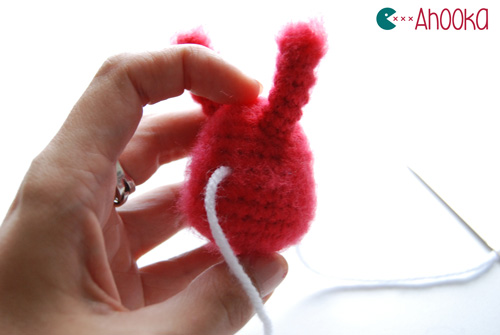
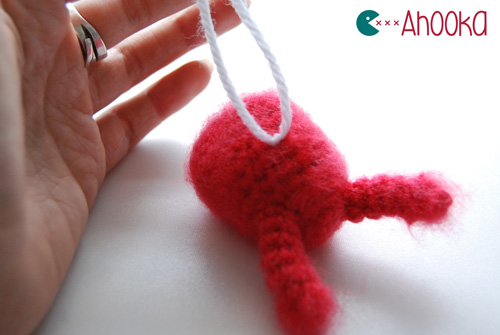
– Cut a long strand of yarn.
– insert it in your amigurumi from the back and let the yarn hang a bit.
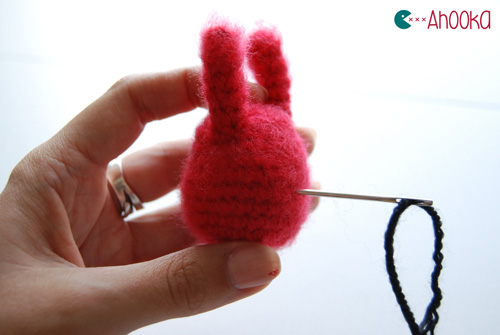
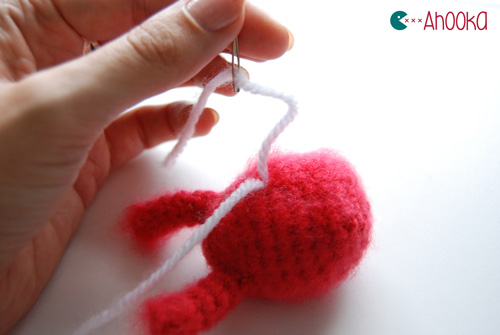
– Pull your needle through your amigurumi to the starting point of the embroidery
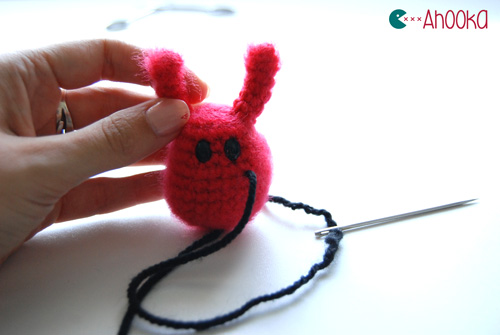
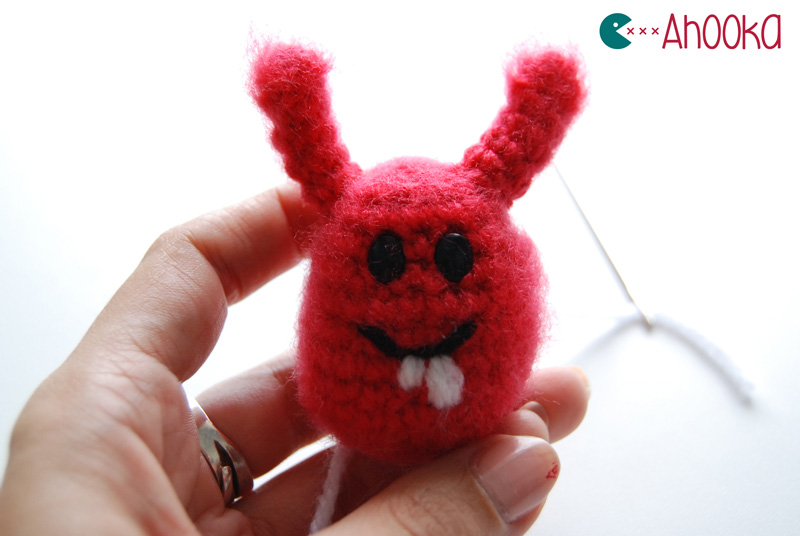
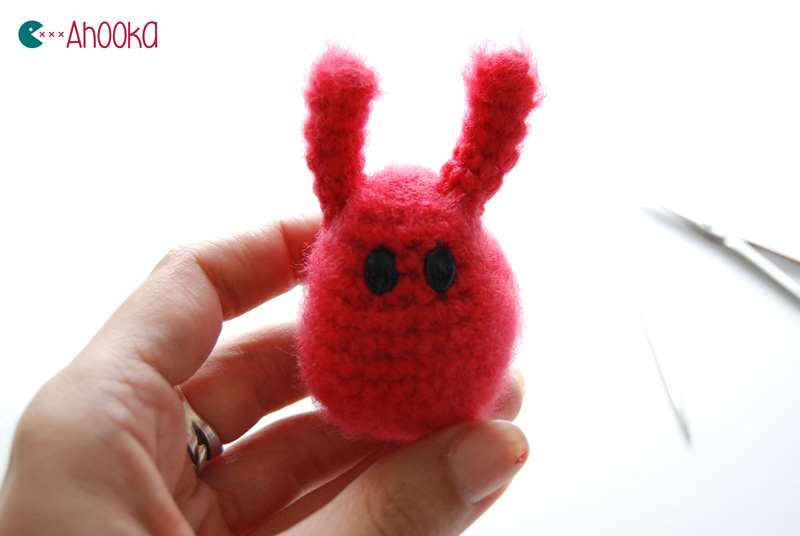
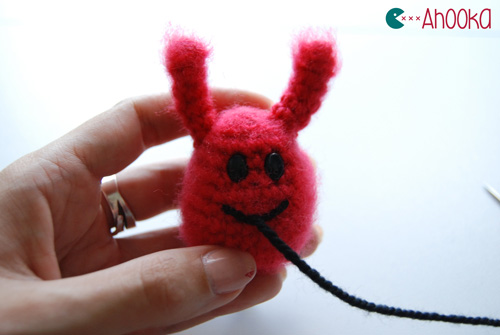
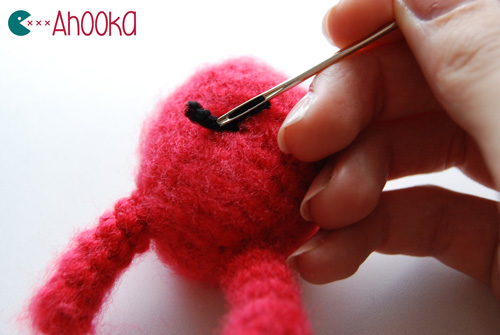
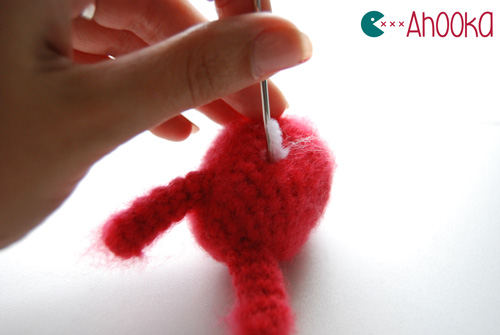
– Embroider the detail you want (here, the mouth)
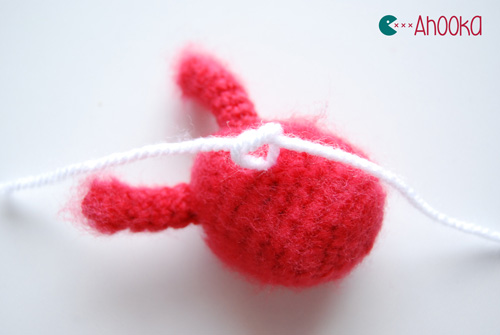
– When you’re done, go through your amigurumi again to reach the exact same place where your yarn is still hanging.
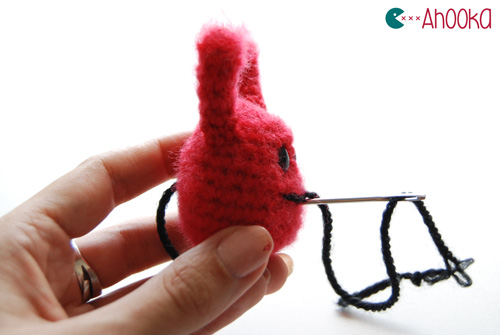

– Tie in a knot and cut the excess of yarn.
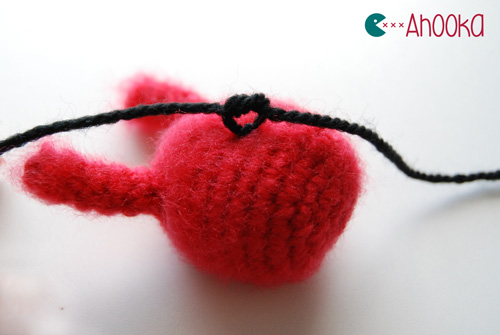
– Push the knot inside your amigurumi with your needle.
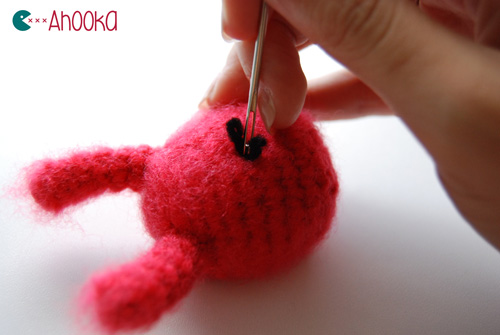
It is very important to get the yarn out at the exact same place it went in, or you wont be able to push the knot inside the amigurumi !
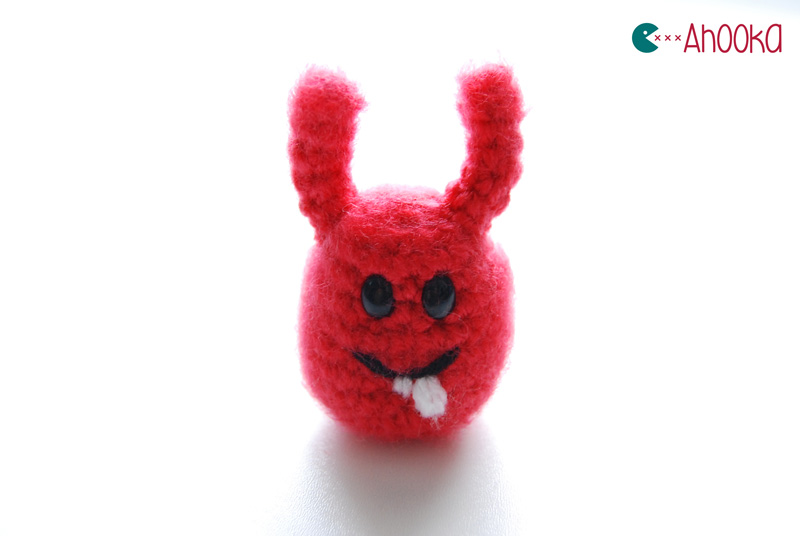
Proceed the same way for any other detail you’d like to add :
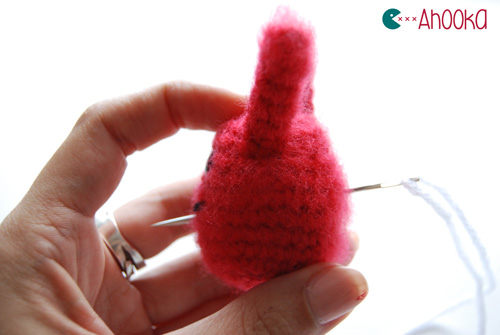

Aaaand you’re done !
If you know tips and tricks too, feel free to share them in the comments !
Very helpful. I never thought of tying a knot.
I’m glad if this was of any help !!
Oh thank you soo much for this tutorial. I’m making Lil skull heads amigrumi style and had no way of knowing how I was going to embroider the face let alone how I was going to start. This was so helpful.
You’re welcome ! Skull heads amigurumi? I need to see that when you’re done !! ^^
Thanks for sharing this tip! This was always the thing I was so not satisfied with when finishing of my Amigurumis :D I’m gonna try this asap.
Yours, Aly <3
My pleasure ! I also have a video on embroidering eyes now if it makes it easier for you :)
This is so helpful and I would never have thought of it. Thank you!
My pleasure Crystal ! :)
Thank-you for the pattern.
Where you are embroidering features and the back seam isn’t finished, knot yarn and hide ends in stuffing. You may need to add a little stuffing to cover the colour in light coloured projects… then finish the back seam.
The length of yarn can be used to pull in the face if you are doing a bear for example. Start the yarn at the back of neck and move needle to opposite eye, make the eye and pass the needle through the face to other eye. Where this is unwieldy, you can use a separate thread for each eye. Make the second eye. Push the remaining yarn with the needle to the other ‘corresponding’ back neck, pull tight and check the effect on your toy’s face. If your eyes become mis-shapen under pressure, you can use a separate thread for shaping. You want both sides equal. Take a small stitch in the neck fabric where it won’t show up, to lock yarn length in place. Push needle back inside and bring out at centre back neck. Do the same with second thread and tie the knot as per the tip. Where you used safety eyes, you can use project coloured yarn to do this effect, this defines a bear’s nose and shapes the face with pressure around eyes.
Where the pattern says run ends through last stitches and pull/tighten up, leave these ends loose until you have done features. The ends are easier to push inside of a slightly larger space.
Always stuff e.g. head first as worked yarn ends through an empty space can distort the finished piece once you have to put the stuffing in. The face can change completely once filled and your spacing choices may not look right then.
Thank you so much Kathy for all these additions which I’m sure will be really helpful to many of us !
OMG you are a genius!
Sadly, a few of my amigurumi friends did not make it due my incompetence at appling their little faces. Thank you so much!
My pleasure Cole !
Brilliant! This will make things so much easier. Wish I had seen this years ago. Thank you!
My pleasure Marnie ! Glad it helps !
Thanks for these tips – I’m new to amigurumi so this all super helpful.
My pleasure Hannah :) Have fun !
Thank you so much for this awesome tutorial. I was having such a hard time.
My pleasure ! Glad it helped :)
Do you use a certain type of yarn to make these? My first thought would be to use the softy baby yarn, or does it need to be coarser? Thank you for your help.
Hi Jane, sorry for the late replay ! I used regular acrylic yarn, don’t remember the brand though, sorry !
view website https://hydra20online.com
Hi, thank you so much for this post. It’s helpful. I would like to check WhAts the size of the needle so you use for embroidery ? Any recommendation for needle and floss? Thanks
How would I embroider the eyes
I would like to embroider eyes with yarn. Please send me a link if you have a tutorial.